Quick Start
This doc teaches you the basics of Semita Rollups development. Semita Rollups is Ethereum equivalent, meaning it has maximum compatibility with the existing Ethereum developer experience. Therefore, the differences between Semita Rollups development and Ethereum development are minor. But a few differences do exist.
Semita Optimistic Rollup endpoint URL
To access any Ethereum type network you need an endpoint. We recommend you use one of the followings:
Network choice
For development purposes, we recommend you use either a local development node or Semita Rollup Testnet. That way you don't need to spend real money. You can use this faucet if you need BNB on Semita Rollup for testing purposes.
The test examples below all use Combo testnet.
Interacting with Semita Rollup contracts
We have a Sample contract on Testnet, at address 0xd9145CCE52D386f254917e481eB44e9943F39138. You can verify your development stack configuration by interacting with it.
As you can see in the different development stacks below, how you deploy contracts and interact with them on Optimism is almost identical to how you do it with L1 Ethereum. The most visible difference is that you have to specify a different endpoint (of course). The list of other differences is here.
Development stacks
- Hardhat
- Remix
- Truffle
Hardhat
In Hardhat you use a configuration similar to this one.
Connecting to Semita Rollups
Follow these steps to add Semita Rollups testnet support to a newly created Hardhat project.
- Define your network configuration in
.env:
 Put the mnemonic for an account on Optimism here
MNEMONIC=test test test test test test test test test test test test

# API KEY for MegaNode
# MEGANODE_API_KEY=

# URL to access semita rollup
ROLLUP_URL=
- Add
dotenvto your project:
yarn add dotenv
- Edit
hardhat.config.js:
- Use .env for your blockchain configuration:
import \* as dotenv from 'dotenv';
dotenv.config();
- Add a network definition in module.exports.networks:
semita: {
    url: process.env.ROLLUPURL,
    accounts: { mnemonic: process.env.MNEMONIC }
 }
Deploying a contract
To deploy a contract from the Hardhat :
import { ethers } from "hardhat";

async function main() {
  const ContractFactory = await ethers.getContractFactory("Greeter");

  const instance = await ContractFactory.deploy("Hello, world!");
  await instance.deployed();

  console.log(`Contract deployed to ${instance.address}`);
}

// We recommend this pattern to be able to use async/await everywhere
// and properly handle errors.
main().catch((error) => {
  console.error(error);
  process.exitCode = 1;
});
You can target Semita from your Hardhat config using:
npx hardhat run --network semita scripts/deploy.js
Greeter interaction
Run the console:
cd hardhat
npx hardhat console --network semita
Connect to the Greeter contract:
Greeter = await ethers.getContractFactory("Greeter")
greeter = await Greeter.attach("0xBd8500313ad026cC25B35Fd5d223EBBcb8A8640E")
Read information from the contract:
await greeter.greet()
Submit a transaction, wait for it to be processed, and see that it affected the state.
tx = await greeter.setGreeting(`Hardhat: Hello ${new Date()}`)
rcpt = await tx.wait()
await greeter.greet()
Truffle
In Truffle you use a configuration similar to this one.
Install Truffle
Follow the official guide here
Install Dependencies
$ npm install dotenv
$ npm install truffle-hdwallet-provider
Connecting to Semita
Follow these steps to add Optimism Goerli support to an existing Truffle project.
- Define your network configuration in
.env:
# Put the mnemonic for an account on Optimism here

MNEMONIC=test test test test test test test test test test test junk

# URL to access Semita Rollup

OPTIMISM_URL=
- Add dotenv and @truffle/hdwallet-provider to your project:
yarn add dotenv @truffle/hdwallet-provider
- Edit truffle-config.js:
Uncomment this line:
const HDWalletProvider = require('@truffle/hdwallet-provider')
Use .env for your network configuration:
require('dotenv').config()
- Get the correct URL:
const optimismUrl = process.env.ROLLUP_URL
- Add a network definition in module.exports.networks:
"semita": {
   provider: () => new HDWalletProvider(
      process.env.MNEMONIC,
      optimismUrl),
   network_id: 91715
}
Contract deployment
You deploy a new contract from the console.
greeter = await Greeter.new("Greeter from Truffle")
Wait a few seconds for the deployment to actually happen and then verify.
console.log(`Contract address: ${greeter.address}`)
await greeter.greet()
Greeter interaction
Compile the contract and run the console.
truffle compile
truffle console --network semita
Connect to the Greeter contact
greeter = await Greeter.at("0xBd8500313ad026cC25B35Fd5d223EBBcb8A8640E")
Read information from the contact.
await greeter.greet()
Submit a transaction.
tx = await greeter.setGreeting(`Truffle: Hello ${new Date()}`)
Wait a few seconds for the transaction to be processed
See that the greeting has changed.
greeter.greet()
Remix
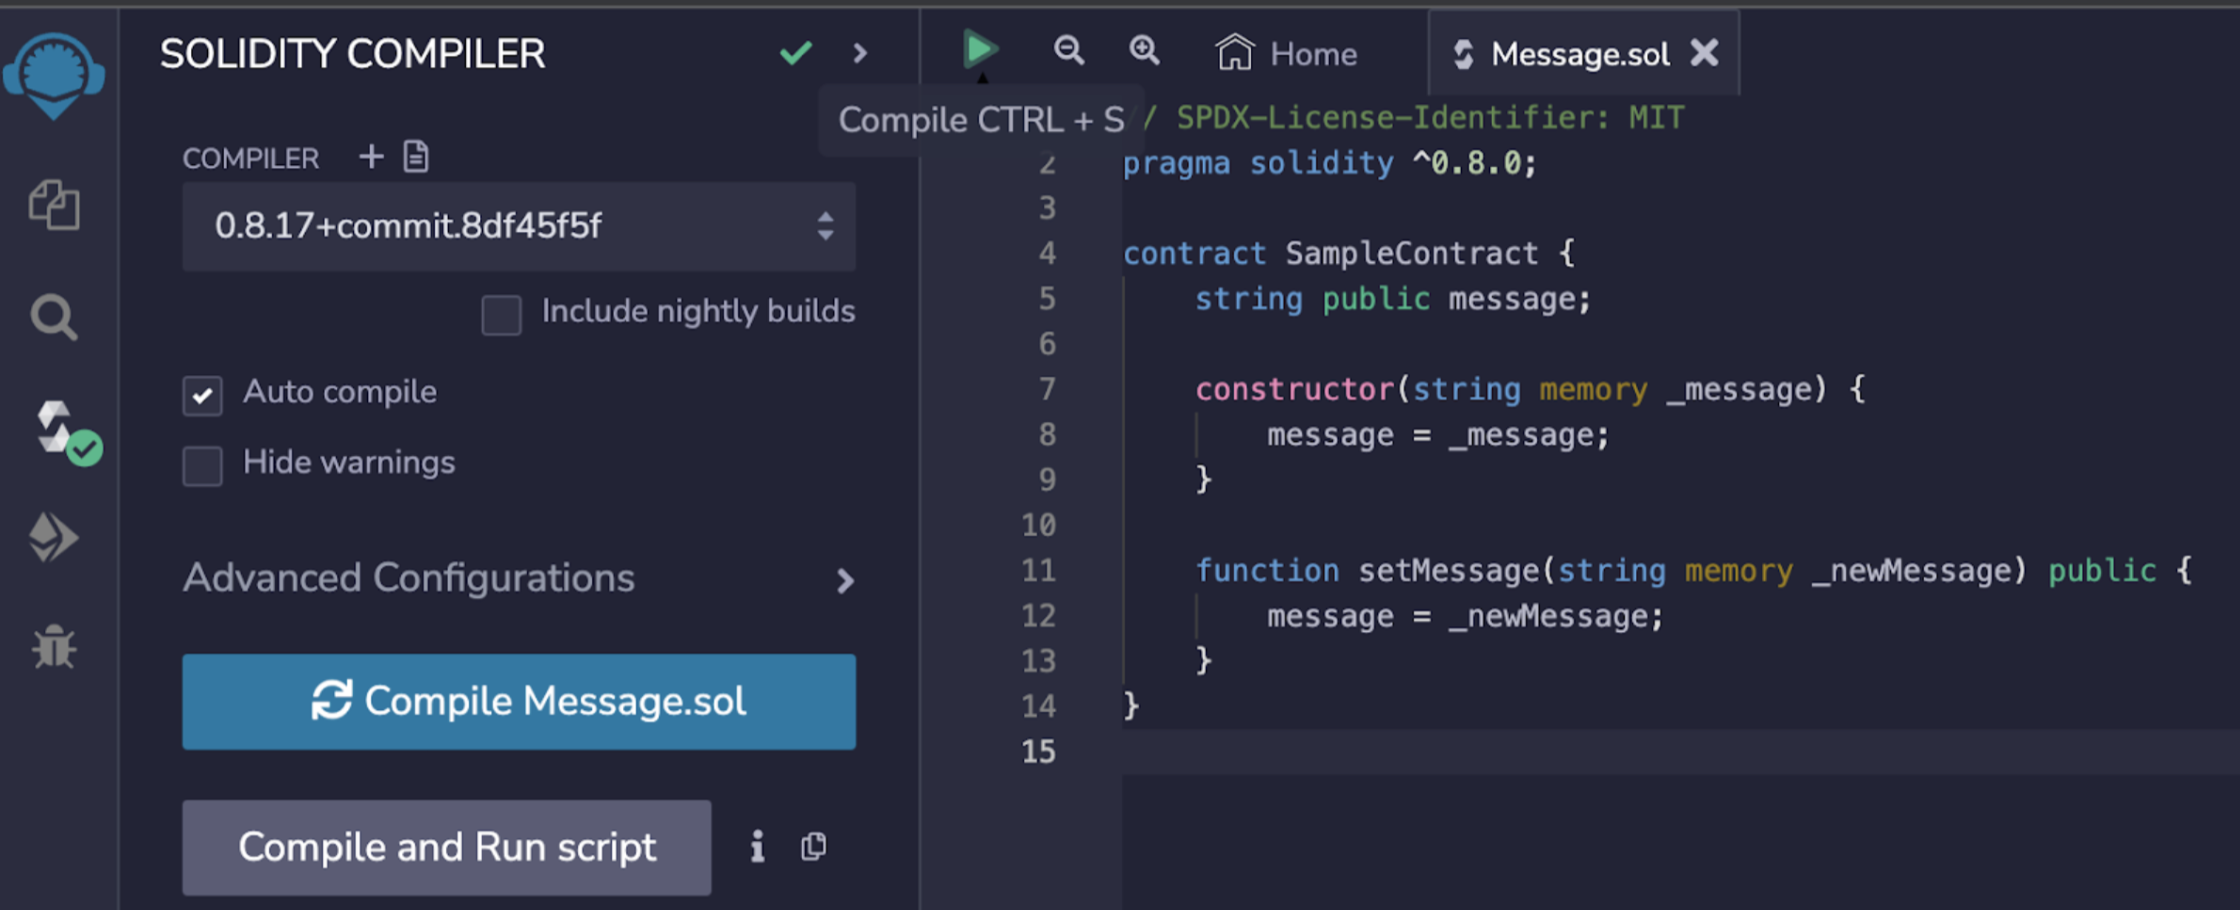
Go to the Remix IDE, and create the Message.sol file and copy the example to the file.
- Compile the Solidity code.

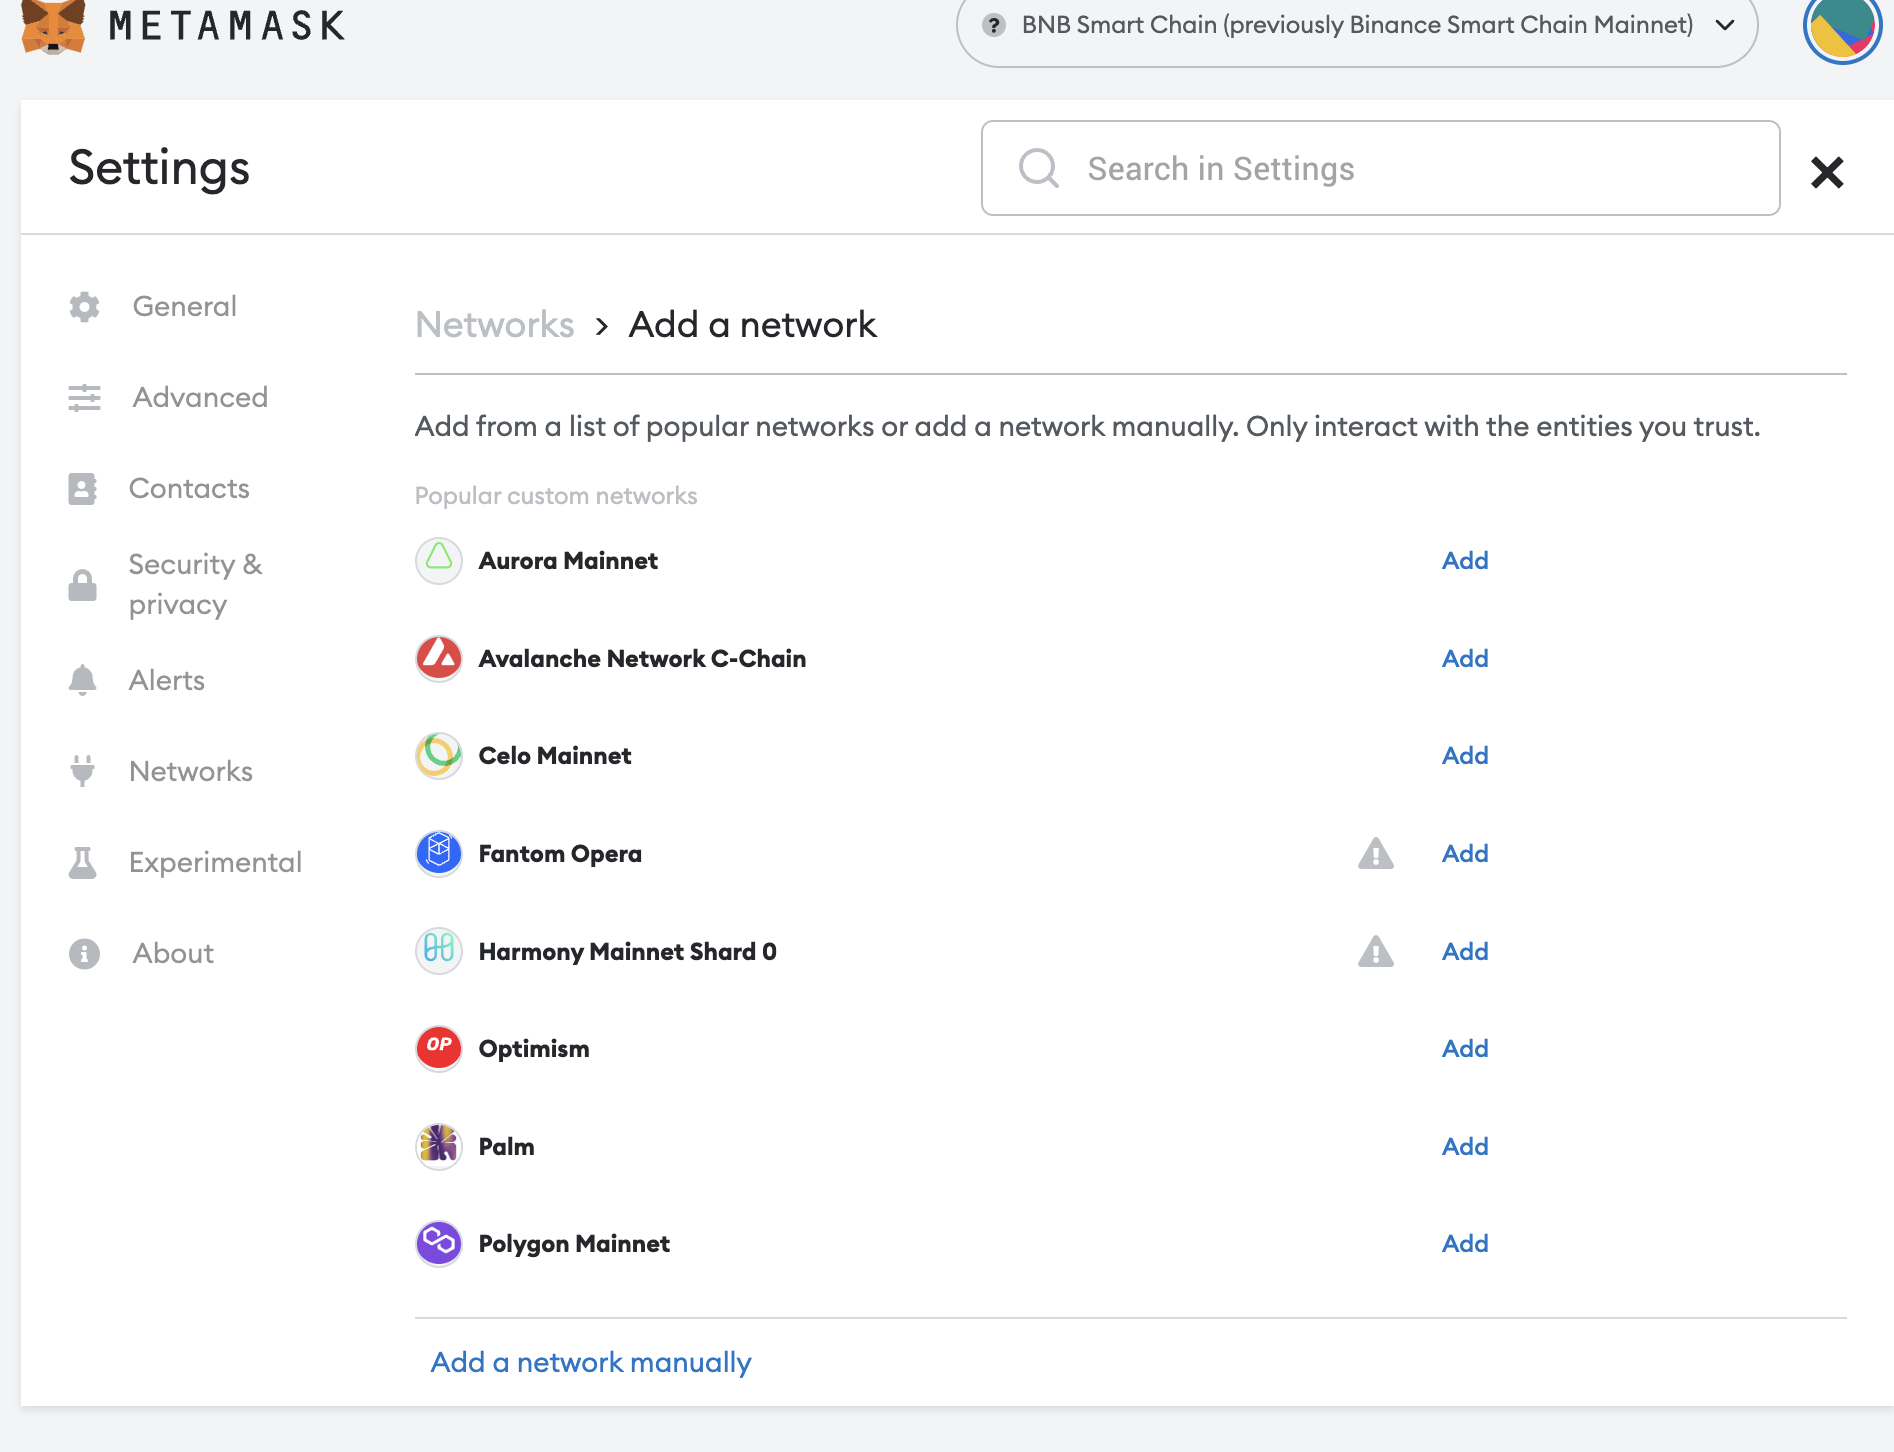
- Configure your Metamask with the network info provided. Go to Metamask Settings and Add a Network.

-
Select “Add a network manually”, and enter the corresponding information.
- Chain ID 91715
- RPC testnet-rpc.combonetwork.io
-
And switch your network to the Vodafone Blockchain.
-
Take tokens from the faucet, and you will see them in your wallet.
-
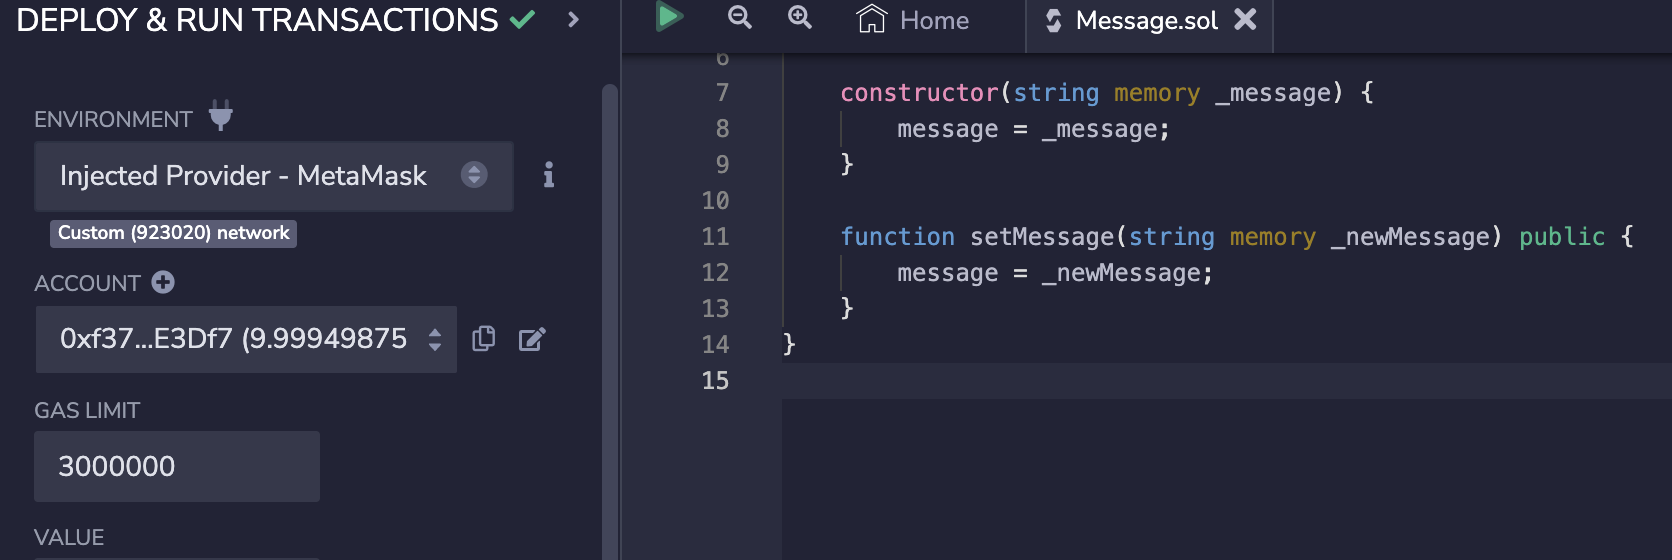
Configure your wallet in Remix.
Please note the environment need to select the “Injected Provider-MetaMask”, enter your public address, and click deploy. At the same time, your wallet will notify you to confirm the transaction to deploy the contract and click confirm to continue.

- Test the deployed contract.
In the deployed contracts section, enter the message you want to send. For example, “Hello Application Chain” and click send Message. You need to confirm the transaction on your wallet again to pay for the gas fee.

- Retrieve the message.
In the “Deployed Contracts” section, click the message to retrieve.
Updated about 2 years ago
